1 | Invitbox BackOffice Configurations
This article covers the Invitbox setup guide for Bepoz Backoffice (Bepoz Version 4.3.0.0).
This article covers the Invitbox setup guide for Bepoz Backoffice (Bepoz Version 4.3.0.0).
Prerequisites
- Firstly you will need to have the supplier/s in back office setup with a supplier number allocated to the supplier. Please Refer to BEpoz Operation manual on how to setup suppliers
- E.g. Supplier- ALM Supplier Number -1234
- Supplier – ILG Supplier Number - 7890
- Also make a Supplier called Invitbox with no supplier number
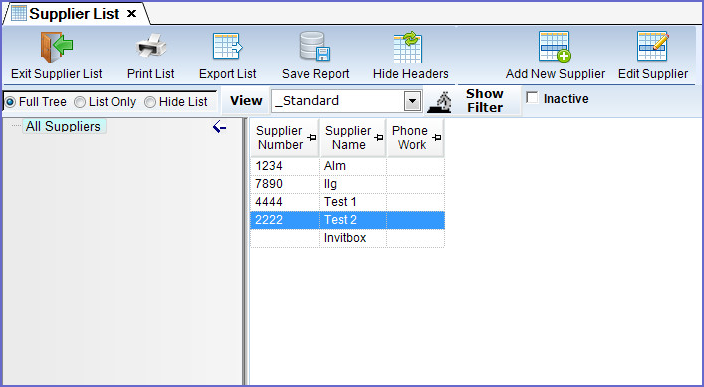
- The Screen shot below shows an example of how you should have all suppliers setup including invitbox
Adding Invitbox to Supplier Comms
- Under system setup you must click on supplier comms. Below is a sample image what you should see appear


- Click on Add Supplier Comms.
- A window will pop up NEW Communication LINK. Below is a sample
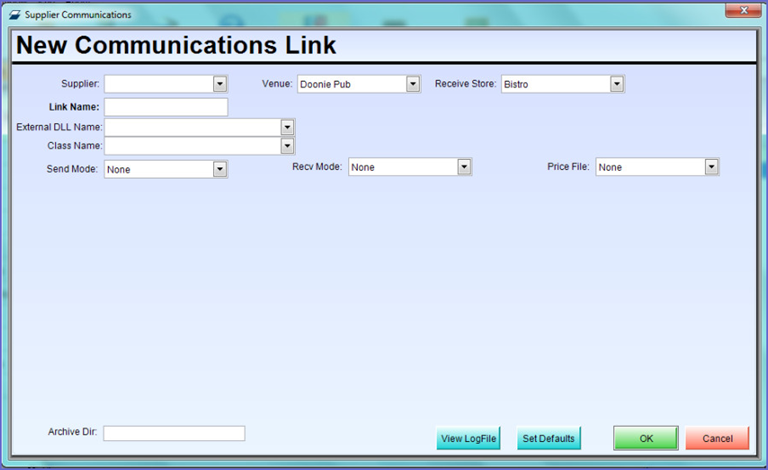
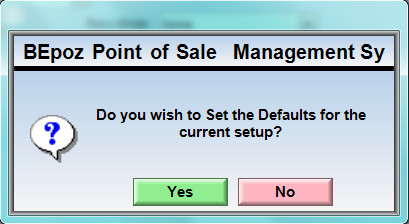
- Supplier: you will need to select Invitbox. Once you have selected invitbox a prompt box will appear select yes to set the defaults
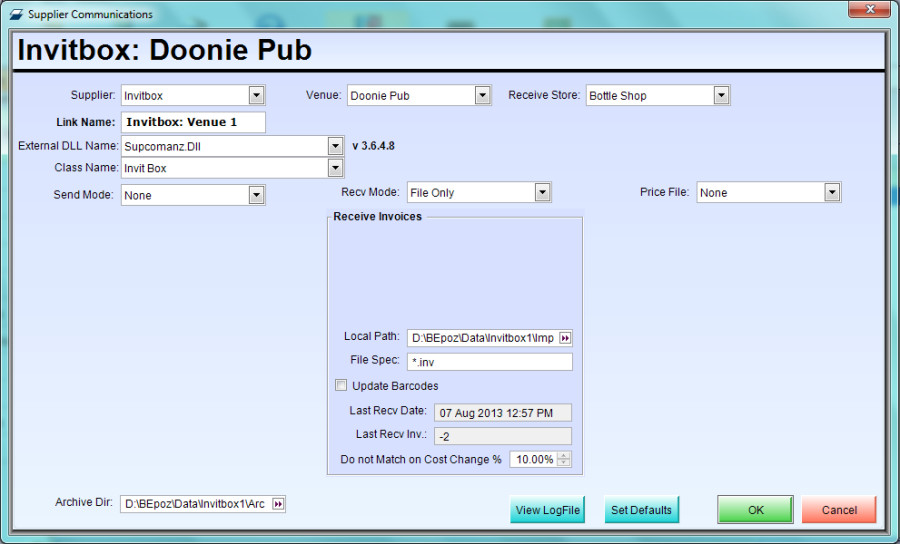
- Link Name: this field will be automatically generated
- External DLL Name: You will have to select Supcomanz.dll once you have selected the Supcomanz.dll you will be prompt the following

- Please click yes to continue
- Class Name: you must select Invitbox, once you have select invitbox you will be asked the following

- Please click yes to continue
- Venue: this is only for multi venue use only. If you have a multi venue please select the venue that invitbox will be using. Please note you will have to set one supplier comm to each venue
- Received store: This is where the default inward store for the stock
- Once you have gone through the following steps you should have a similar setup as the following image below
How to Import Using Invitbox
- Invitbox will create one file and then have the file saved in the Bepoz\ Data \ Invitbox\import directory. Once the file is saved in that directory you will be able to import the file into BackOffice
- In BackOffice you will need to select stock control then click on Purchasing & Receiving
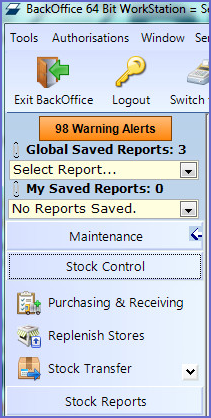
- You will see the following window appear
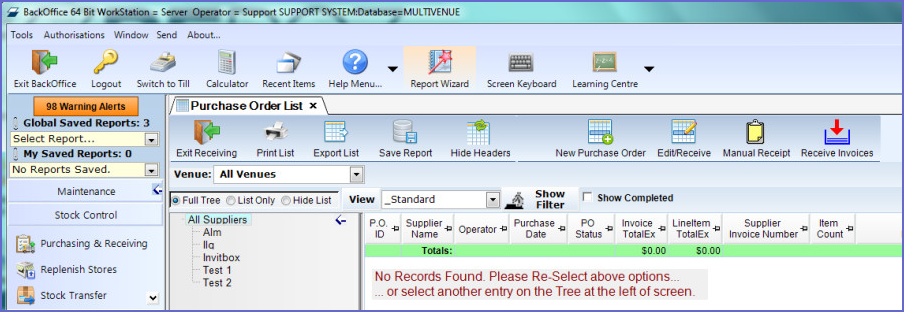
- On the far right on the BackOffice screen you will see Receive invoices
- You must highlight Invitbox in the Supplier list before you click on Receive invoices
- Once you have selected invitbox and then you have clicked on receive invoices the following window will appear
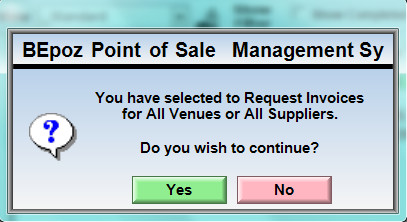
- You will have to click yes to continue
- Once you have clicked yes you will see the invoices that where saved in the directory will start to import into BackOffice
- The invoice will import in via Invitbox and will assign each invoice to the supplier that matches on supplier number from Invitbox
