
Overview
Up to twenty (20) KeyMaps can be added to a KeySet meaning that one SmartPOS Workstation can have up to twenty (20) tabs of Product buttons.
Each new SmartPOS Workstation has a Default KeySet assigned to it in BackOffice.
Prerequisites
- To access KeyMap and KeySet features, the applicable Operator Privileges will need to be enabled
- Products: "Maintain Keymap Settings" Flag
- Operator Maintenance 'Maintenance' Tab
Creating KeySets
To create a New Keyset, follow the steps after logging into BackOffice:-
- From the Maintenance menu, select Product KeyMaps
- Click the KeyMap Sets button in the Header Section of the KeyMap List tab
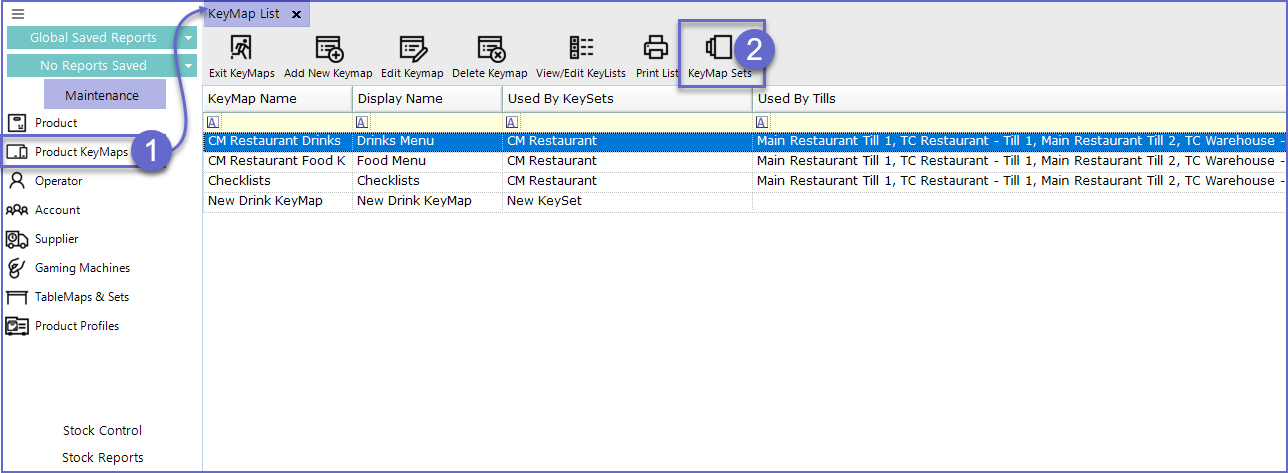
- Clicking on the KeyMap Sets button will open a new window titled Key Sets
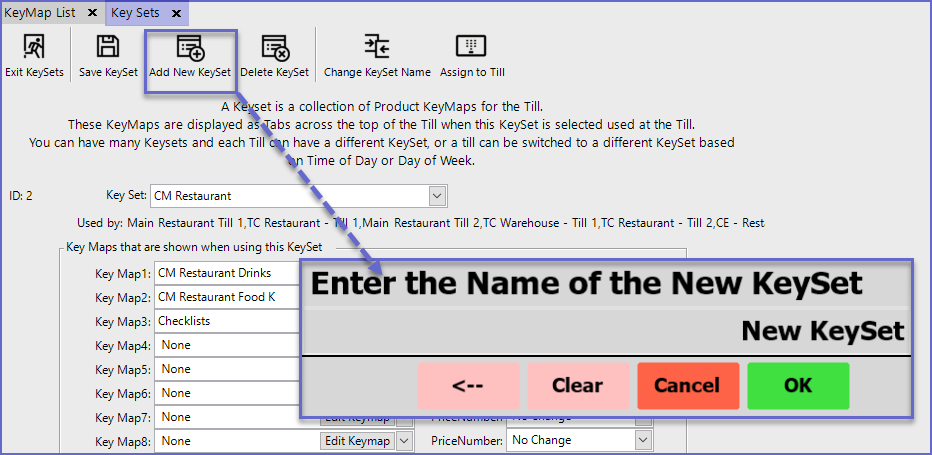
- Click on the Add New KeySet button in the header Section to create a new keyset
- This will open a prompt asking for the Name of the New KeySet
- Once completed, a New KeySet will be created and the Name will display in the KeySet selection drop-down
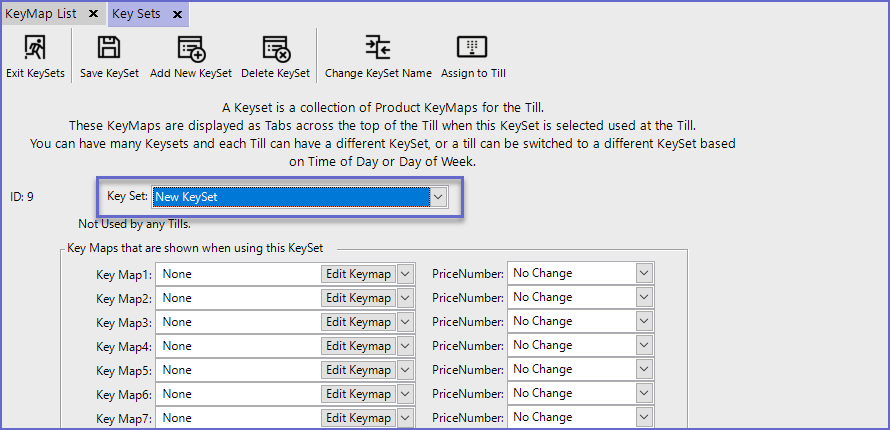
- To Add KeyMaps to this new KeySet, select the desired KeyMap/s from the drop-down selectors
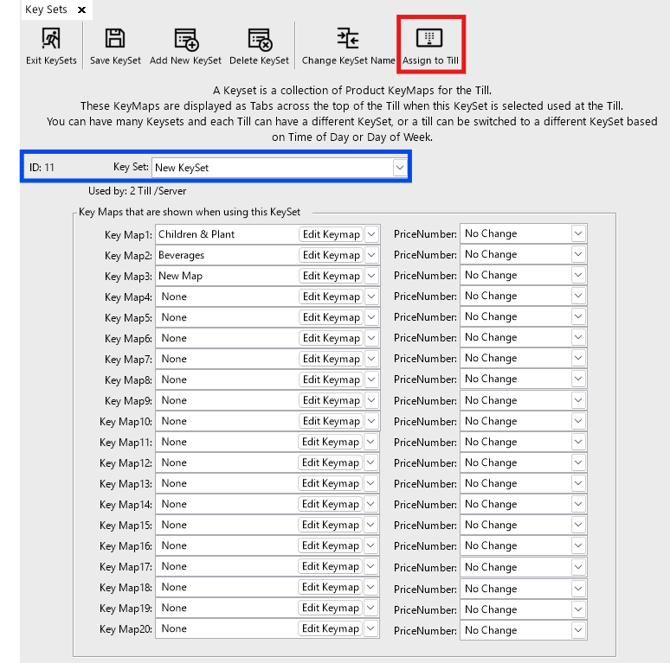
- The order in which the KeyMaps are listed here is the order in which the KeyMap Tabs will display at the SmartPOS Workstation
- Each KeyMap can be assigned to a different price number from the Price Number drop-down
- The Tab Lines setting indicates how many Lines of Tabs will display at the SmartPOS Workstation; this option is typically used when a KeySet contains many KeyMaps, which will then display in stacked rows of Tabs
- Once the KeyMaps have been assigned to the KeySet, the KeySet can now be assigned to the workstation and the Till will display the New KeySet
Assigning a KeySet from the KeySets Maintenance Window
- Select the KeytSet to be Assigned
- Click Assign to Till (Red)
- Select your Till from the List.

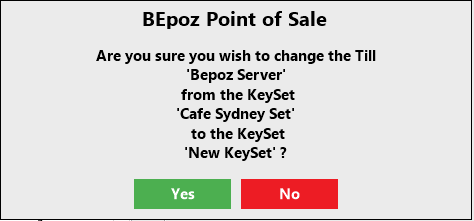
- Click Yes
Manually Assigning a KeySet
To Manually Assign a Keyset to a Workstation, follow these steps after logging in to BackOffice:- From the System Setup menu, select Venue, Stores, & Tills
- Select the Workstation from the Global Settings list (double-click or right-click and select Edit Workstation)
- In the Till/Workstation Maintenance window that opens, select the desired KeySet from the Defaults KeySet drop-down selector

- Click OK to Save.
- The KeySet is then assigned to the Workstation, which will display all of the KeyMaps within that KeySet
- The different KeyMaps will be displayed at the top of the SmartPOS Workstation