
Overview
KeyLists are created within BackOffice to Group together different Products that do not necessarily have any common features.
A KeyList can be used in a number of ways, some of which may include:
- Grouping together a select assortment of Products within a Product Group (e.g. local wine)
- Grouping together the same Sizes of Products to display together (e.g. all Pots of beer)
- Grouping together menu items which are featured together (e.g. Daily Specials or Seasonal Favorites)
- Grouping together any Products that are not grouped together within the BackOffice Product List (e.g. Lunch Specials and glasses of Wine)
Prerequisites
- Operator Privilege to access BackOffice
- Operator Privilege to Maintain Keymap Settings
Creating a KeyList
- To Create a Keylist, log into the BackOffice and follow the steps:
- From the Maintenance menu, select Product KeyMaps
- Click on the View/Edit KeyLists button in the Header Section

- This will open a new window titled KeyList Names
- Click the Add A New KeyList button in the Header Section
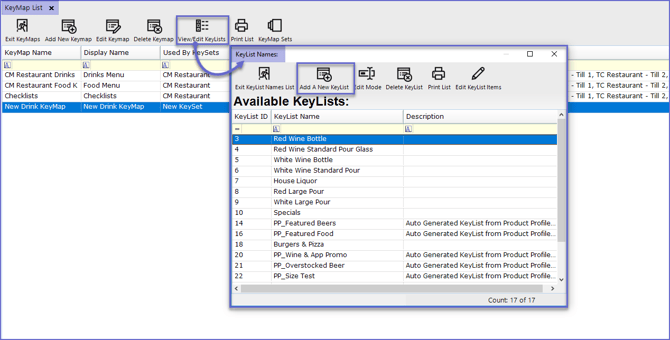
- A prompt will appear asking to Enter the Name of the KeyList

- Tap 'Clear' and/or enter the KeyList Name, and Click on the OK button
- A new window will open titled KeyList Item List which will display a list of all the Products added to the KeyList
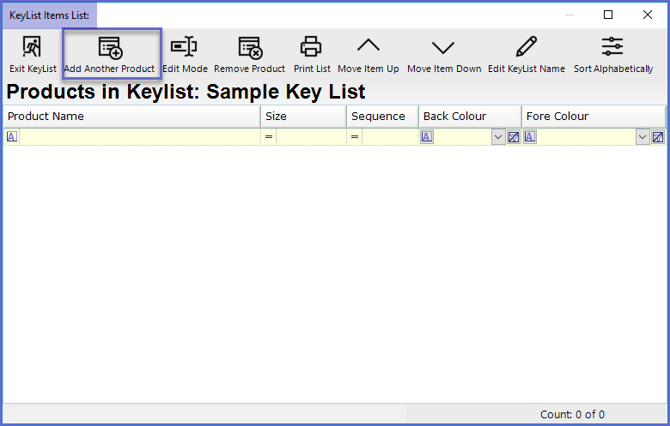
- To get started, click the Add Another Product button in the Header Section
- A Product List window will now open allowing for selecting the desired Product
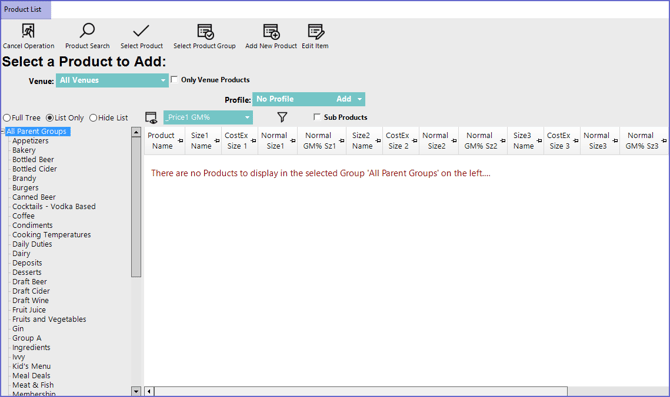
- Navigate through the Product List and select the Product to Add to the KeyList either by double-clicking on the Product or by highlighting the Product and clicking the Select Product button in the Header Section
- If the selected Product has multiple Sizes, a prompt will appear to select the size:

- Select the size either by double-clicking on the Size or highlighting the Size and clicking the Select Size button in the Header Section
- If no size is selected; i.e., "Select Size" is chosen, SmartPOS will prompt Operators to select a Size when the Product is being sold from the Till
- Repeat these steps to Add all of the Products and their required Sizes to the KeyList
- When finished, click on the Exit KeyList button which will Save the updated KeyList
Editing a KeyList
To edit the existing KeyLists:
- From the Maintenance menu, Select Product KeyMaps
- Highlight the KeyList to be edited from the available KeyLists
- Click on the Edit KeyList Items button as shown below
- This will now open the KeyList Items List window where Operators can Add, Edit and/or Remove the Products


- Click on the View/Edit KeyLists button from the Header which will open the KeyList Names window.
- Click Edit Mode
In this mode, you can set the Button Colours, Change the order of Products, Change Names and Sizes.