19 | "Import Stock" Scheduled Job
This article covers how to Import Stock through the creation of a Scheduled Job called Import Stock. This allows for Importing Stock into the System through an external file containing Stock Import data.
This article covers how to Import Stock through the creation of a Scheduled Job called Import Stock.
This allows for Importing Stock into the System through an external file containing Stock Import data.
Prerequisites- To access and edit Purchase Order Settings, the applicable Operator Privileges will need to be enabled:
- Operator Maintenance 'General' Tab
- System Setup: "Maintain Scheduled Jobs" Flags
- Operator Maintenance 'Reporting' Tab
- Other Reports: "Allow Audit Reports" Flag
How-To Add a New "Import Stock" Scheduled Job
- To create an 'Import Stock' Job, login to BackOffice
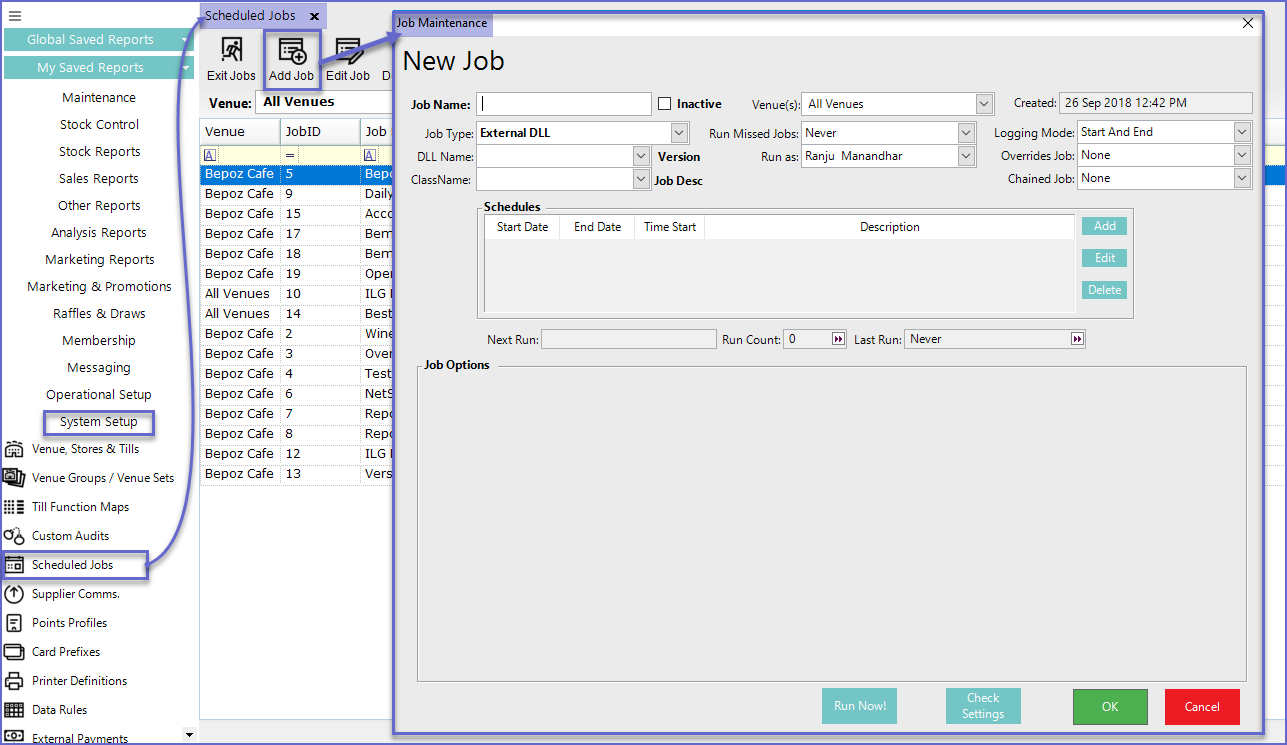
- Go to System Setup > Scheduled Jobs
- Click on the 'Add Job' button in the header which will open a Job Maintenance window


- Schedules allow setting the Date and Time when the job will run
- To Add a new schedule, Click on the 'Add' button and to edit the schedule, Click on the 'Edit' button
- Next Run
- This shows the Date and Time when the job will run next depending on the schedule
- Run Count
- This shows the number of times the job has run
- Last Run
- This shows the last time the job was run
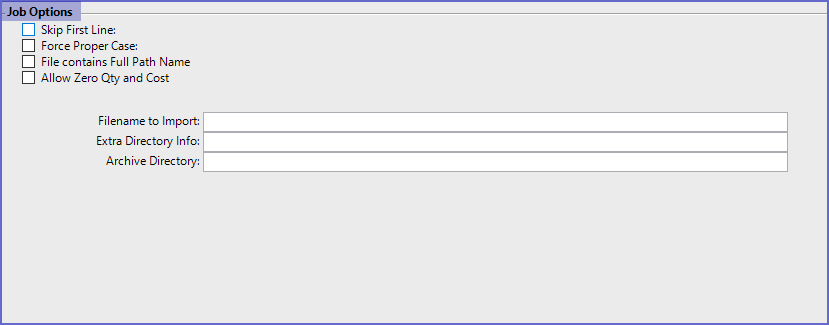
- The Job options depend upon the type of Job chosen by the operator
- For 'Import Stock' Job, Bepoz gives the following configuration options

- Skip First Line
- Skips the first line from the file
- Force Proper Case
- The system becomes Case Sensitive
- File Contains Full Path Name
- Reads only the file having a full Path Name
- Allow Zero Qty and Cost
- Allows zero quantity and cost for the items
- Filename to Import
- Sets the Filename to Import
- The files that are imported must be in CSV format or plain text format
- Extra Directory Info
- Sets the directory to import the file from
- Archive Directory
- Sets the Archive Directory for the file
Run Job & Verify
- After the necessary setup, Click on the 'Run Job Now!' button to start the job
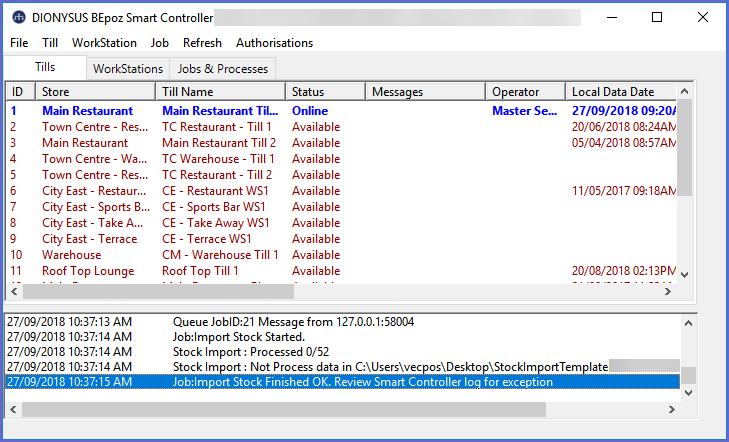
- Once the job is run, Smart Controller can be viewed to check if the job ran properly or not

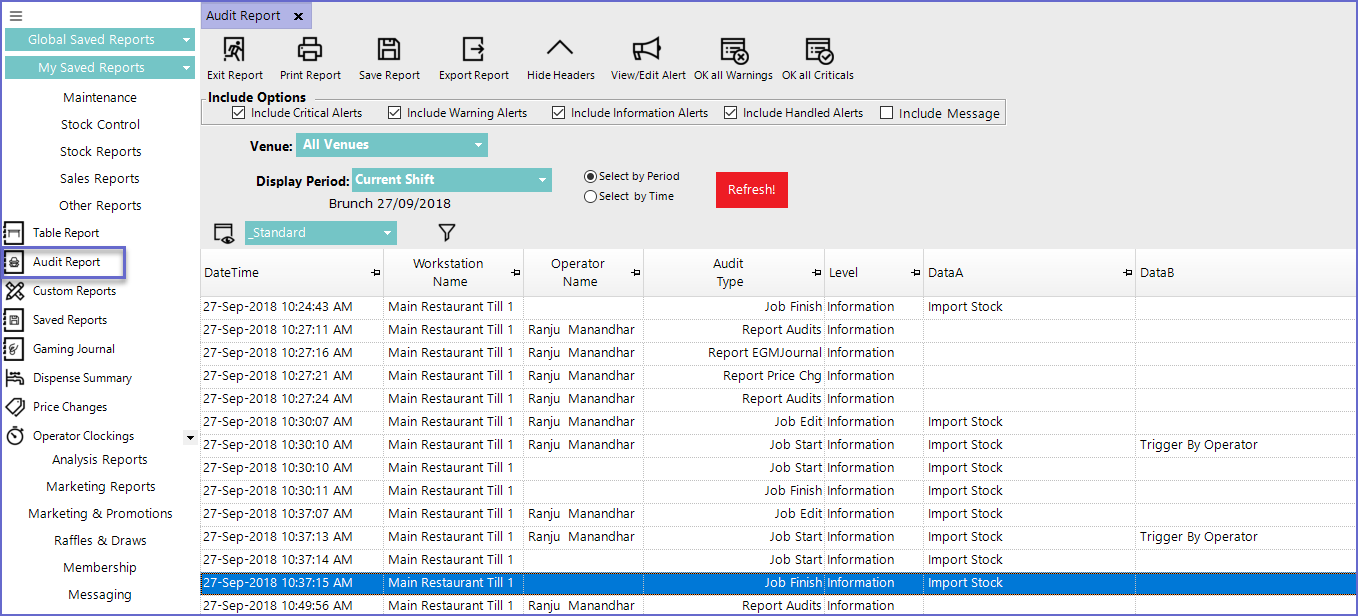
- Operators can also view the job done in the Audit Reports

