Prerequisites
- To access Till Function Settings, the applicable Operator Privileges will need to be enabled
- System Setup: "Maintain Till Function Maps" Flag
- Operator Maintenance 'General' Tab
- To access and use this Till Function within SmartPOS, the following Operator Privileges will need to be enabled
- General: "Operate Tills" Flag
- Tables: "Table Sales" Flag
- Tables: "Create New Tables" Flag
- Accounts & Discounts: "Account Till Functions"
- Accounts & Discounts: "Redeem Points for Cash"
- Operator Maintenance 'Till Privileges' Tab
Initial Setup - Item Use Points
- Click on the desired Button space and then configure the Button Settings:
- In the Button Text field enter the text that will display on the Till Function Button on SmartPOS Workstation screens
- Set the Function drop-down to ' Tables & Accounts'
- Set the Sub-Function to 'Item Use Points'

Function-Specific Configurations
- Enter a corresponding number into the Item field where:
- "1" will partially redeem the Account's available points; i.e., can use tenths of a Point
- "2" will skip any CALink Vouchers linked to the attached Account and will process the transaction
- "4" will use the priorities setup in CALink and redeem points as per the priority
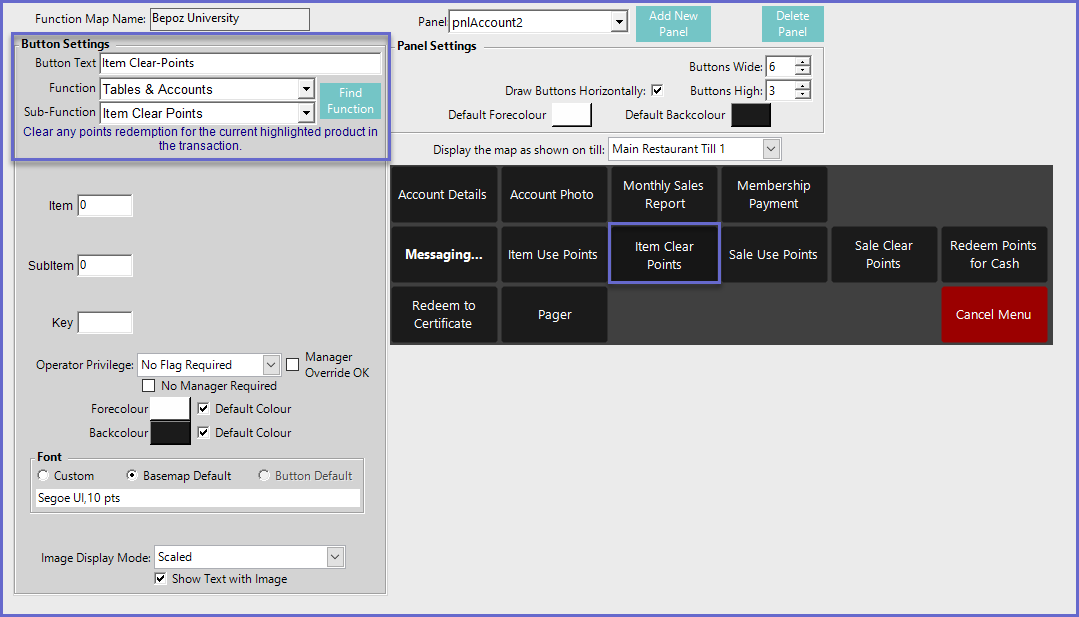
Initial Setup - Item Clear Points
- Click on the desired Button space and then configure the Button Settings:
- In the Button Text field enter the text that will display on the Till Function Button on SmartPOS Workstation screens
- Set the Function drop-down to 'Tables & Accounts'
- Set the Sub-Function to 'Item Clear Points'